Composing your first deck
Composing your first deck
A deck is the unit students play. Here's how to make a good one.
1. Create the deck
From Decks in the sidebar, click Compose a deck.
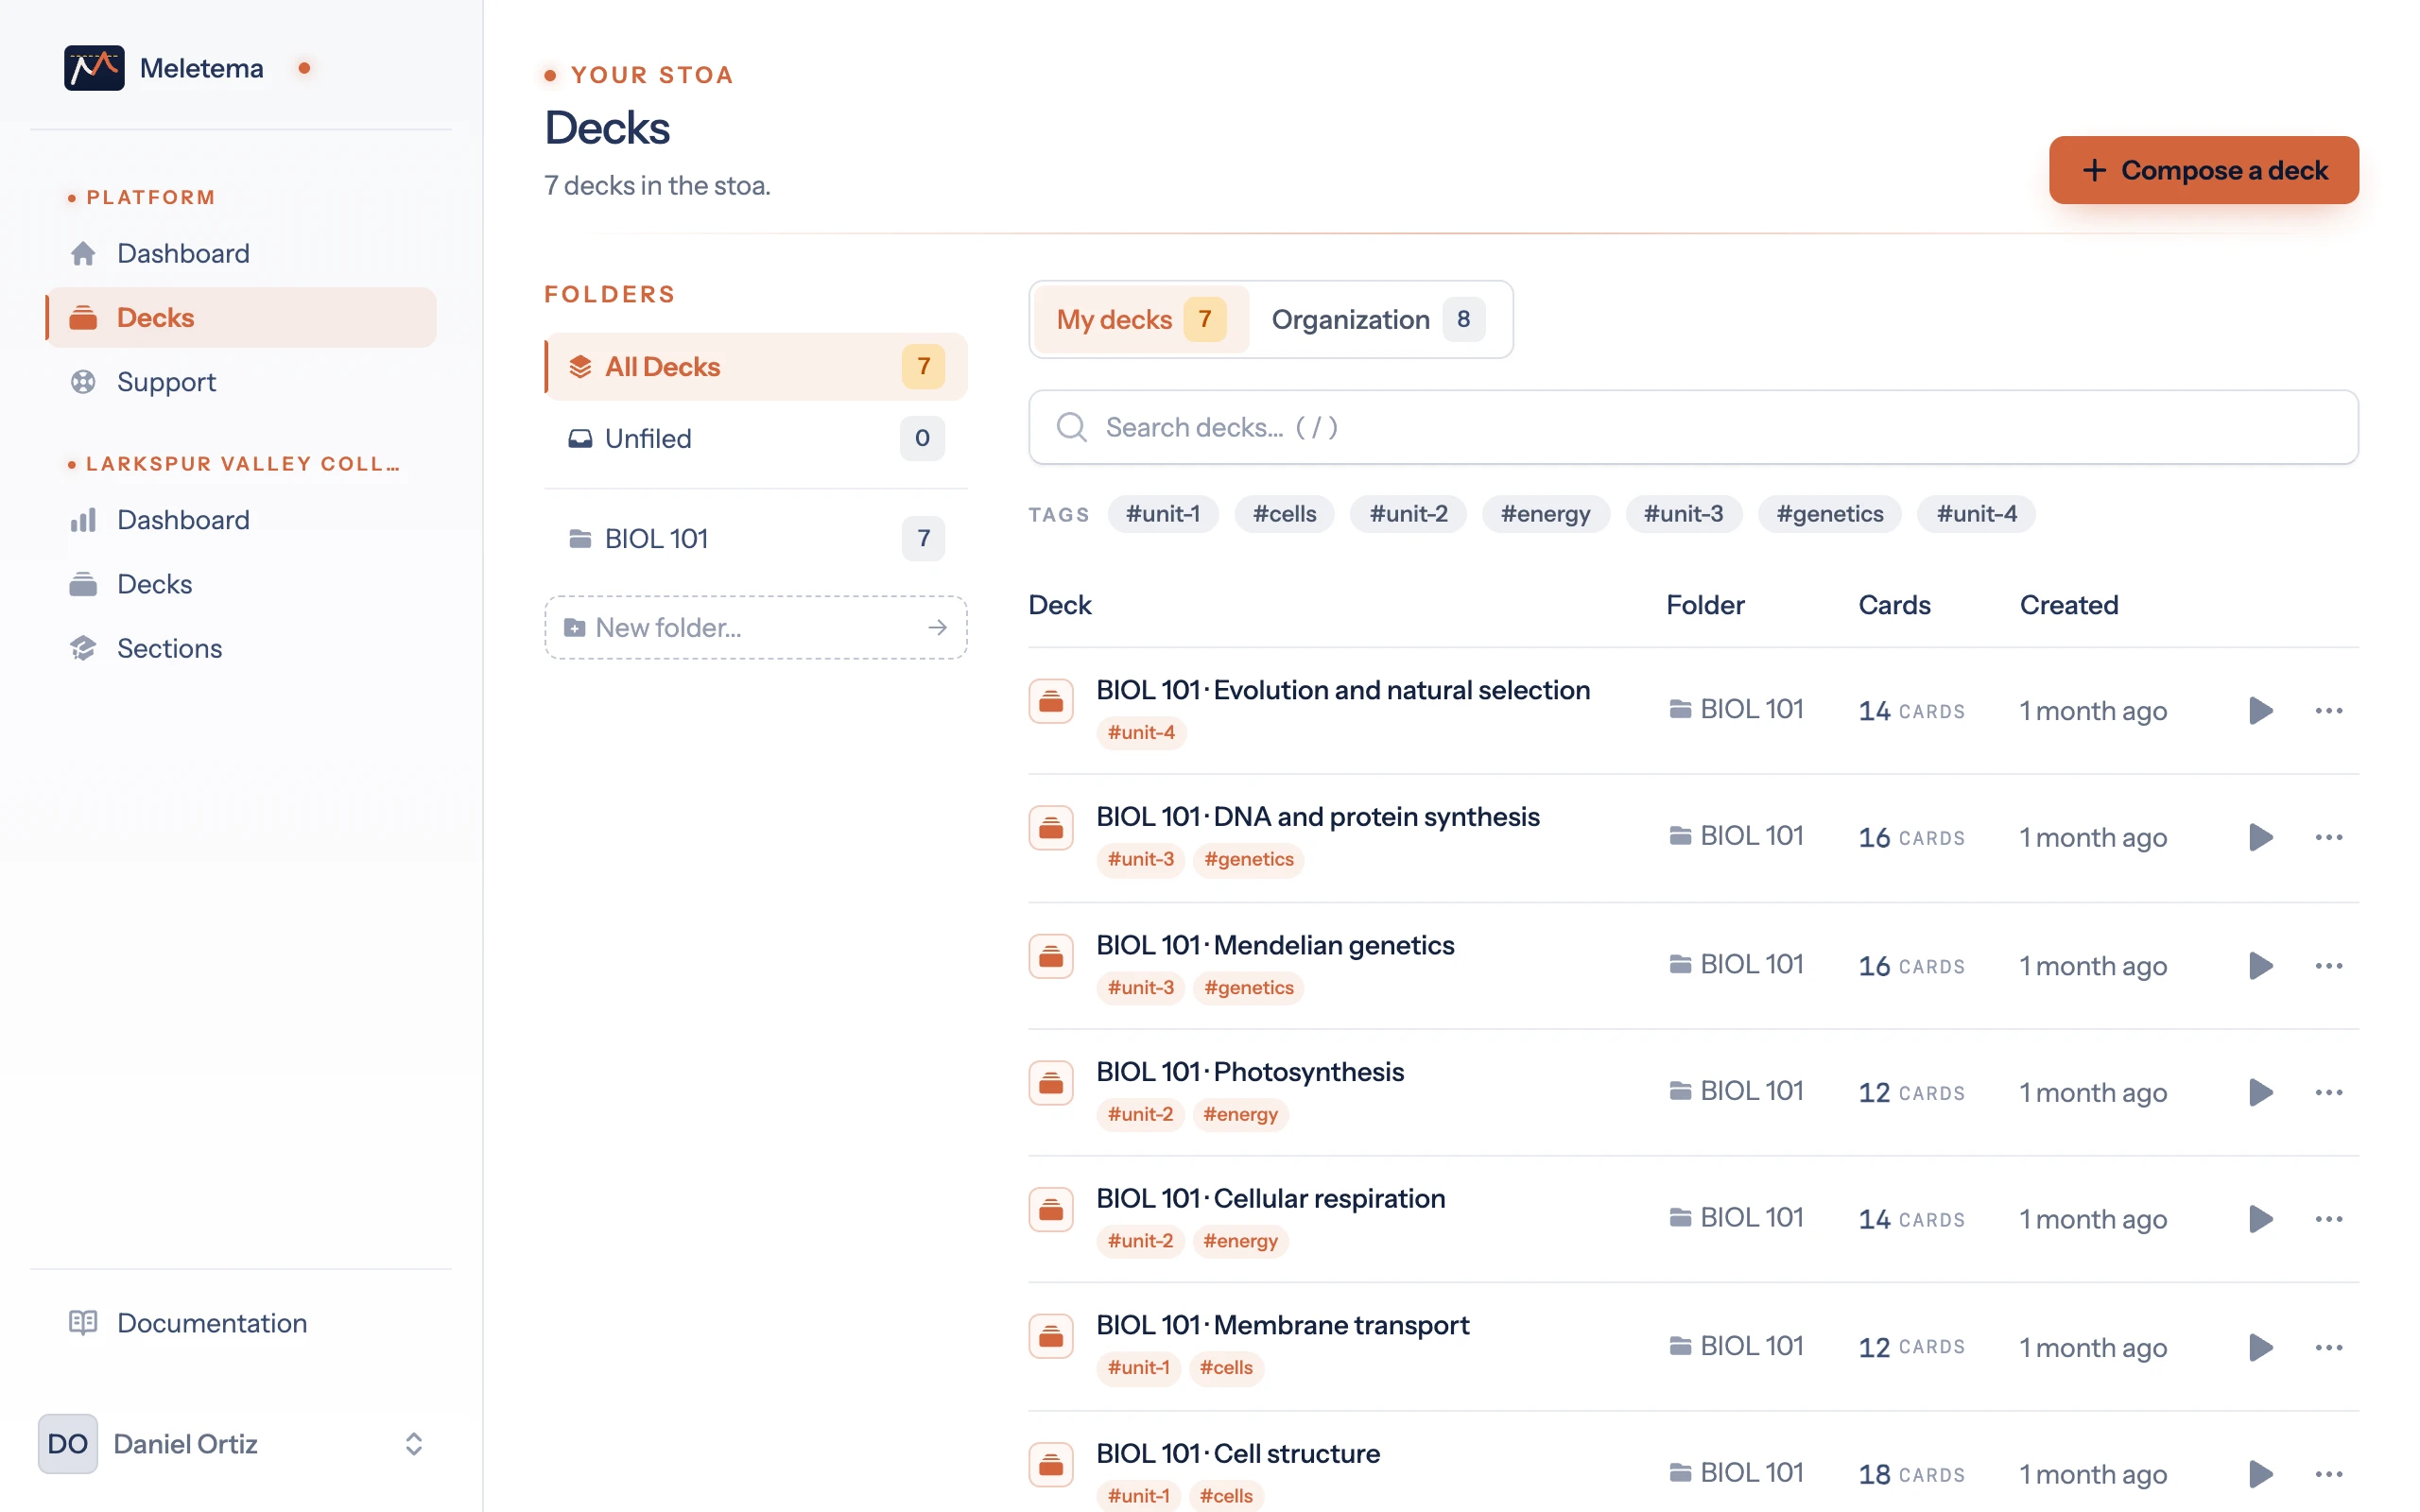
Fill in:
- Title — Concise. Students see it inside the LMS. "Biology 101 · Cell structure" is great. "My deck" is not.
- Description — Optional. Shown on the deck list and at the start of a play session.
- Organization — If you belong to more than one, pick the org this deck lives under.
- Folder — Optional. Folders are sidebar filters; you can move decks between folders later.
Click Compose deck and you'll land in the editor with the card area front and centre.
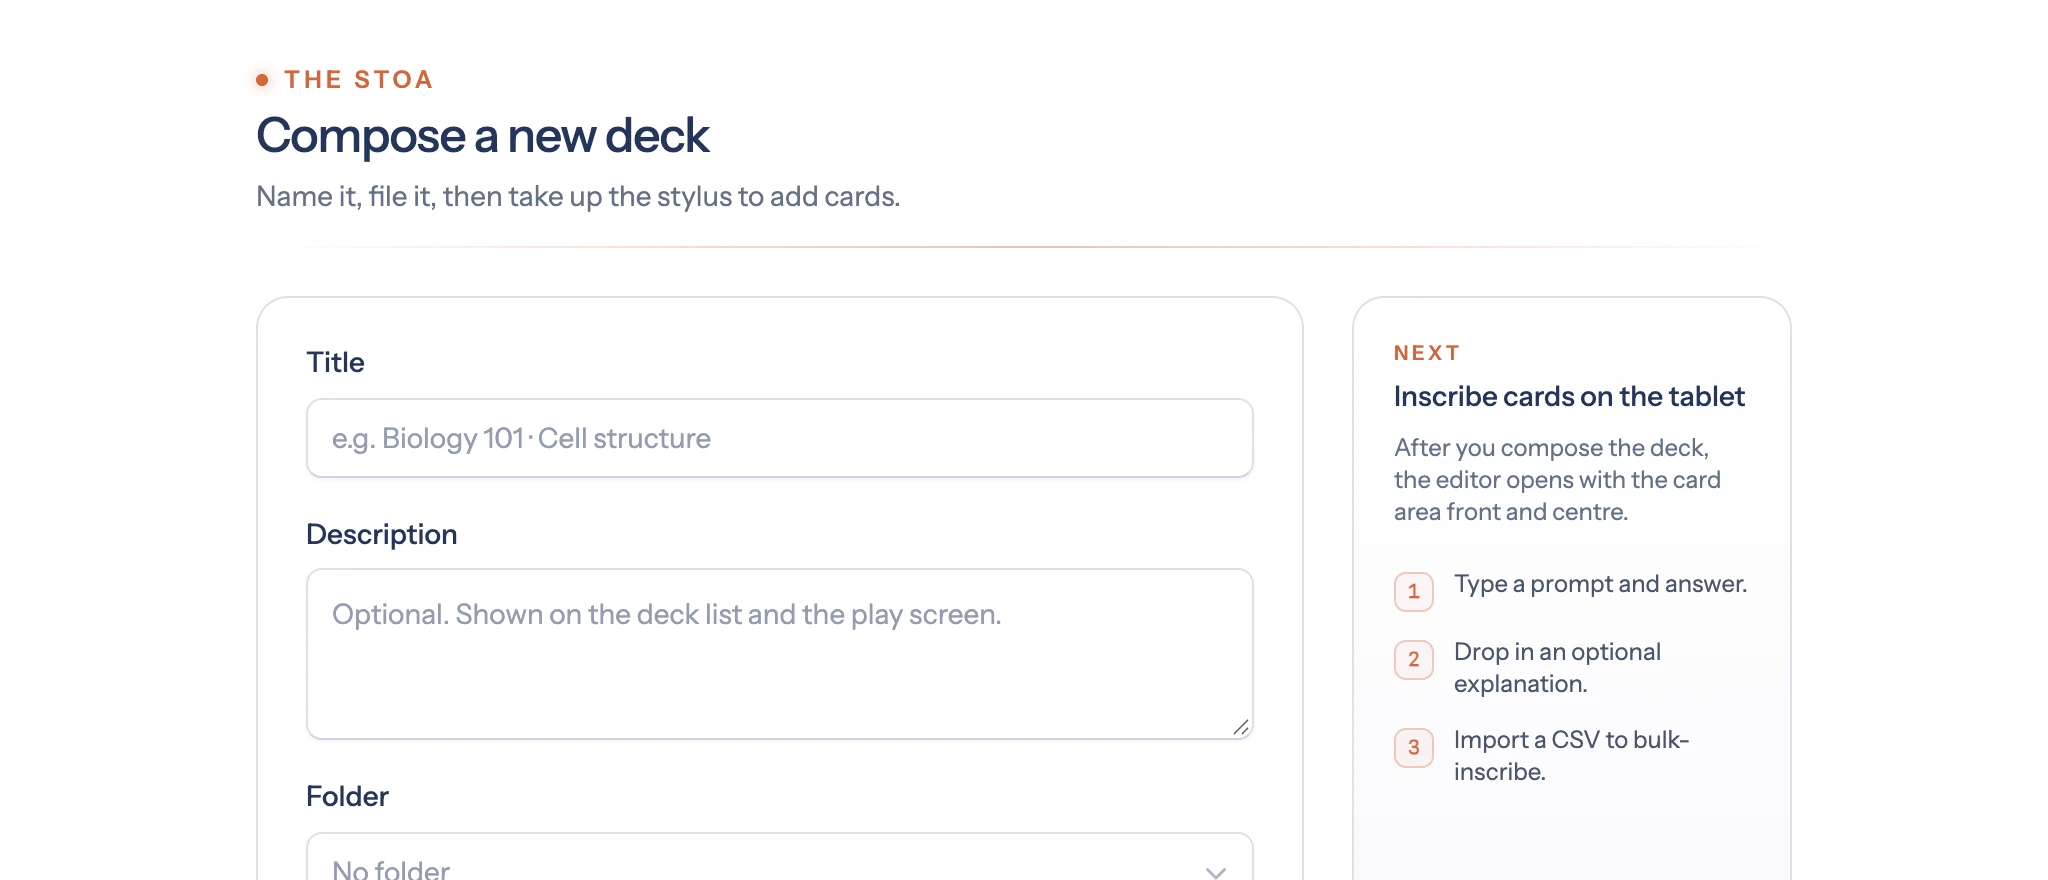
2. Add cards
You have two options:
Type cards in manually
Click + Add card. Each card has:
- Prompt — What you ask the student.
- Answer — The correct response.
- Explanation — (optional) Extra context shown after they answer.
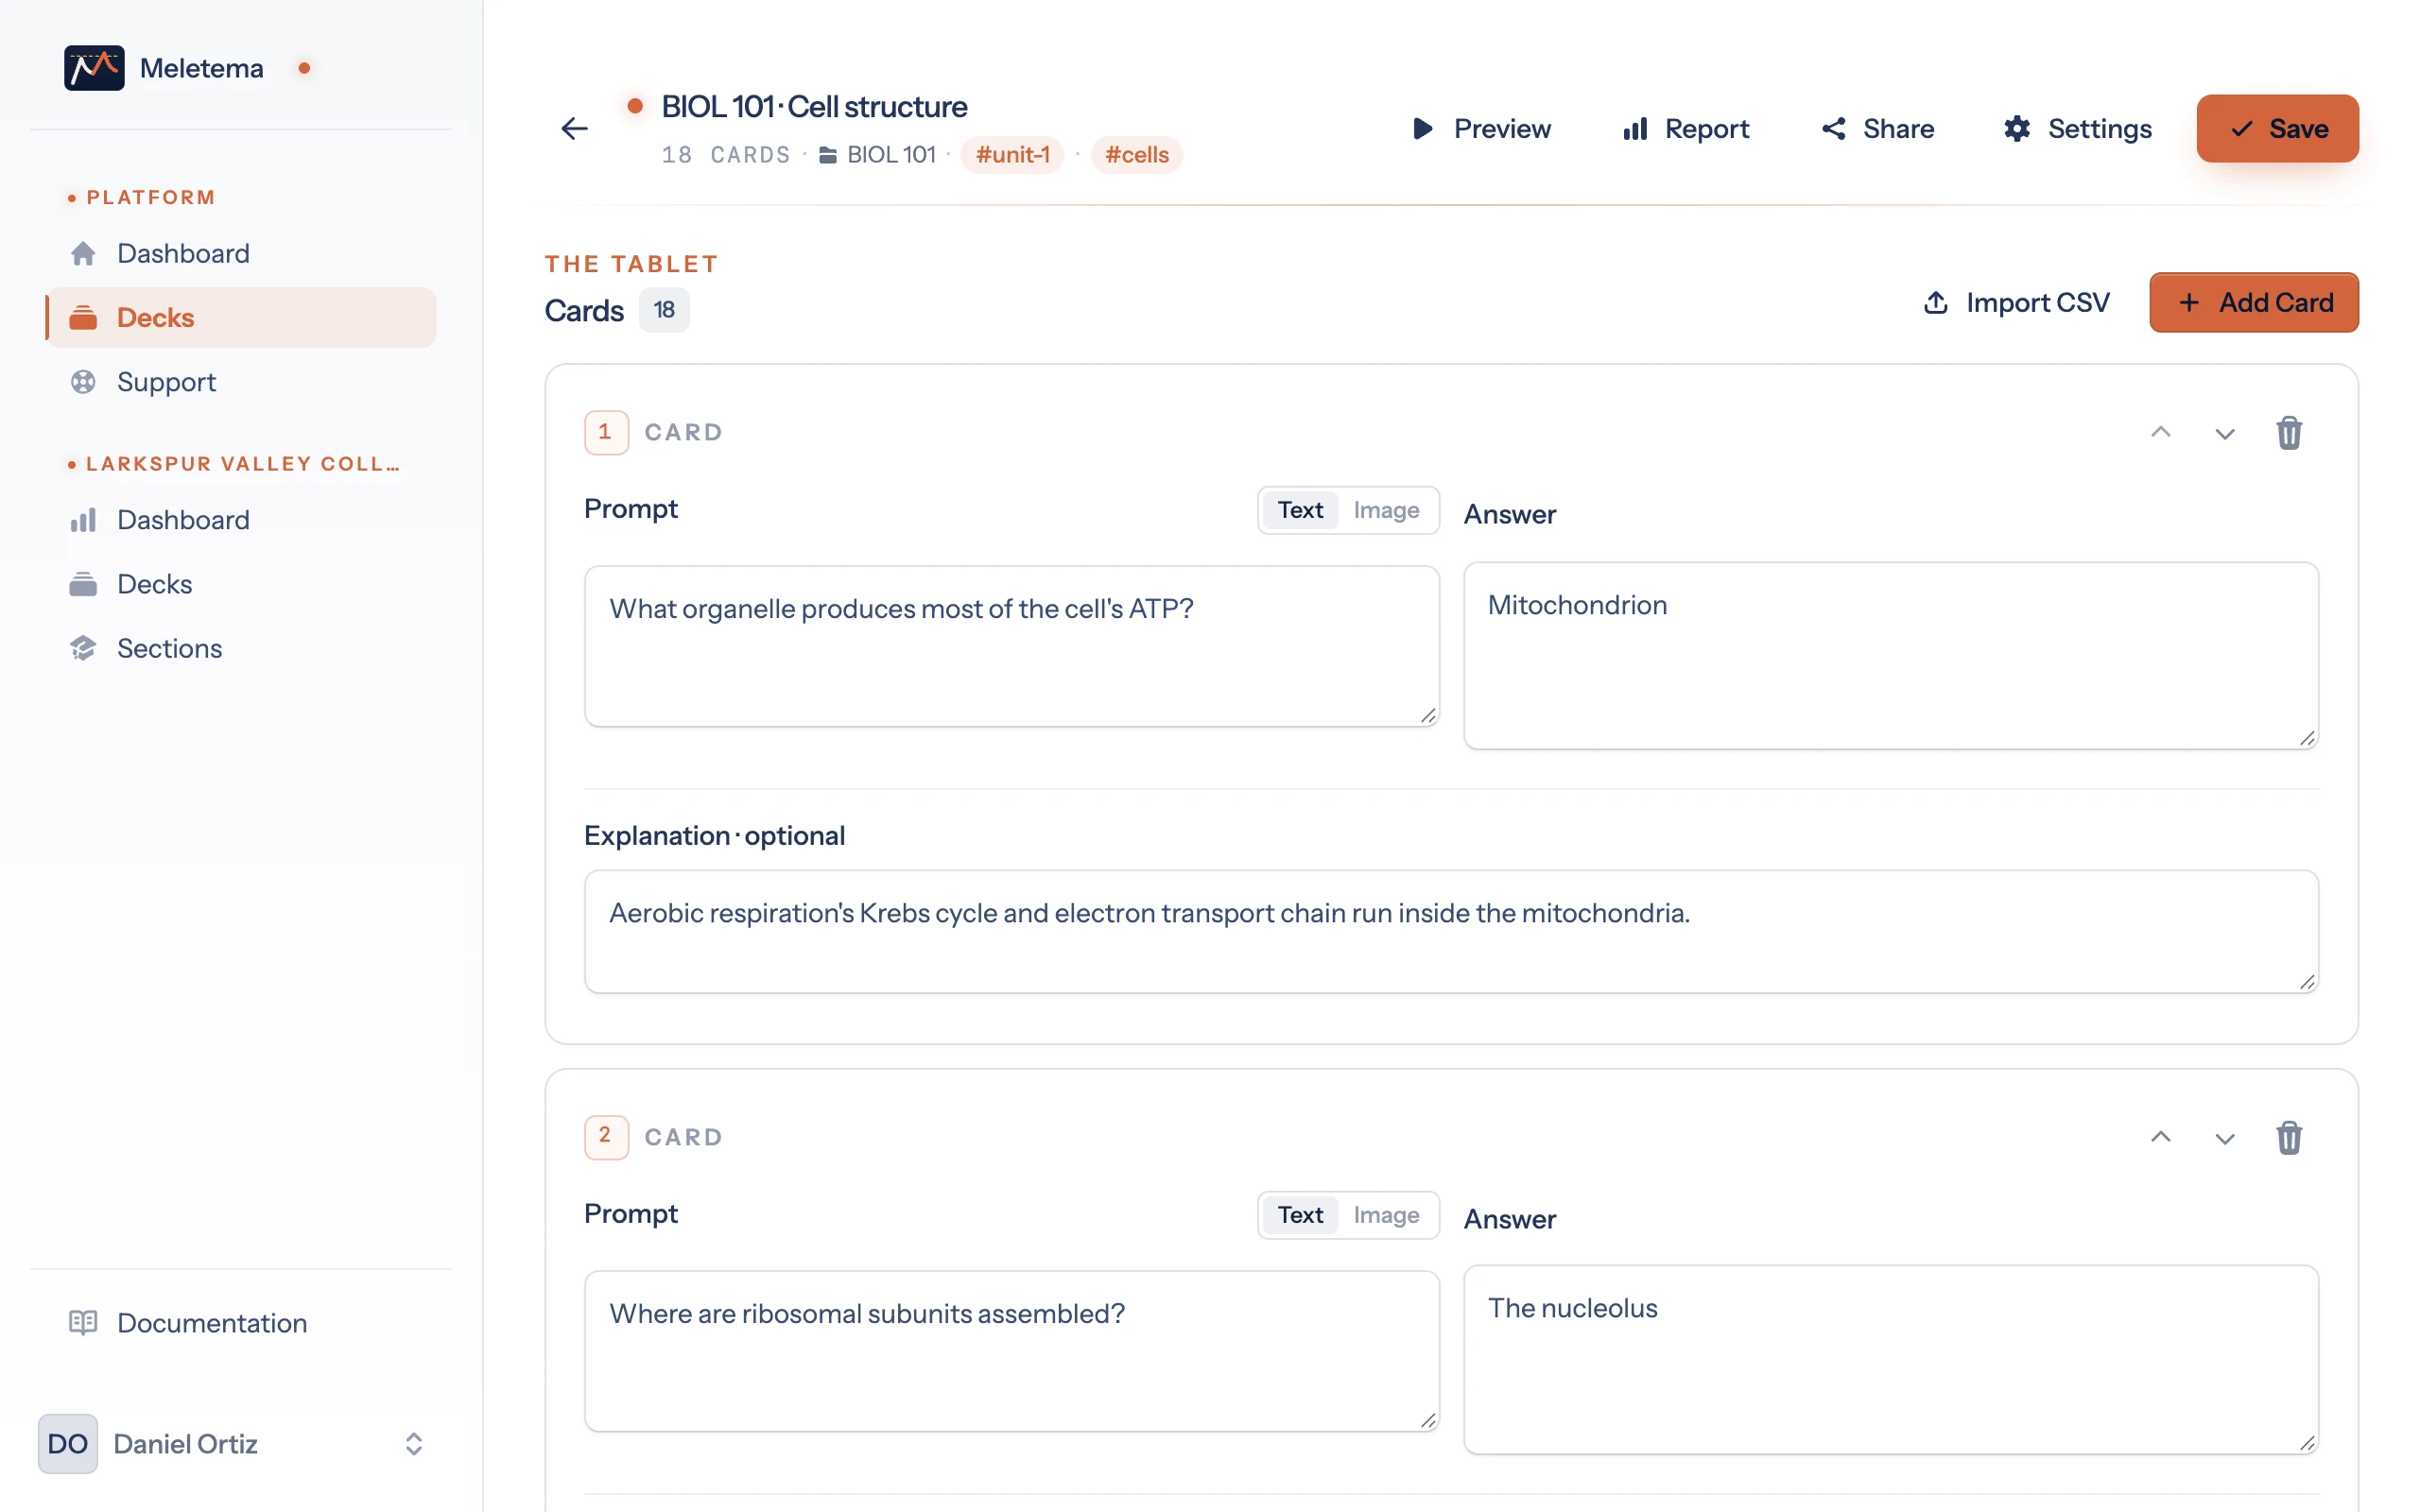
The explanation field is collapsed by default because most cards don't need one. Click "Add explanation" on any card to open it for that card. Open it on one card and Meletema remembers — new cards in this deck and on next sessions will default to expanded. Toggle it explicitly in the Settings flyout under "Show explanation field by default".
Import from a CSV
For bulk creation, click Import CSV. Three columns:
prompt,answer,explanation
What is photosynthesis?,Plants converting sunlight to energy,Uses chlorophyll
What is the powerhouse of the cell?,Mitochondria,Produces ATP
The third column is optional. Download an example CSV from the import modal if you want a starting point.
3. Tune the deck
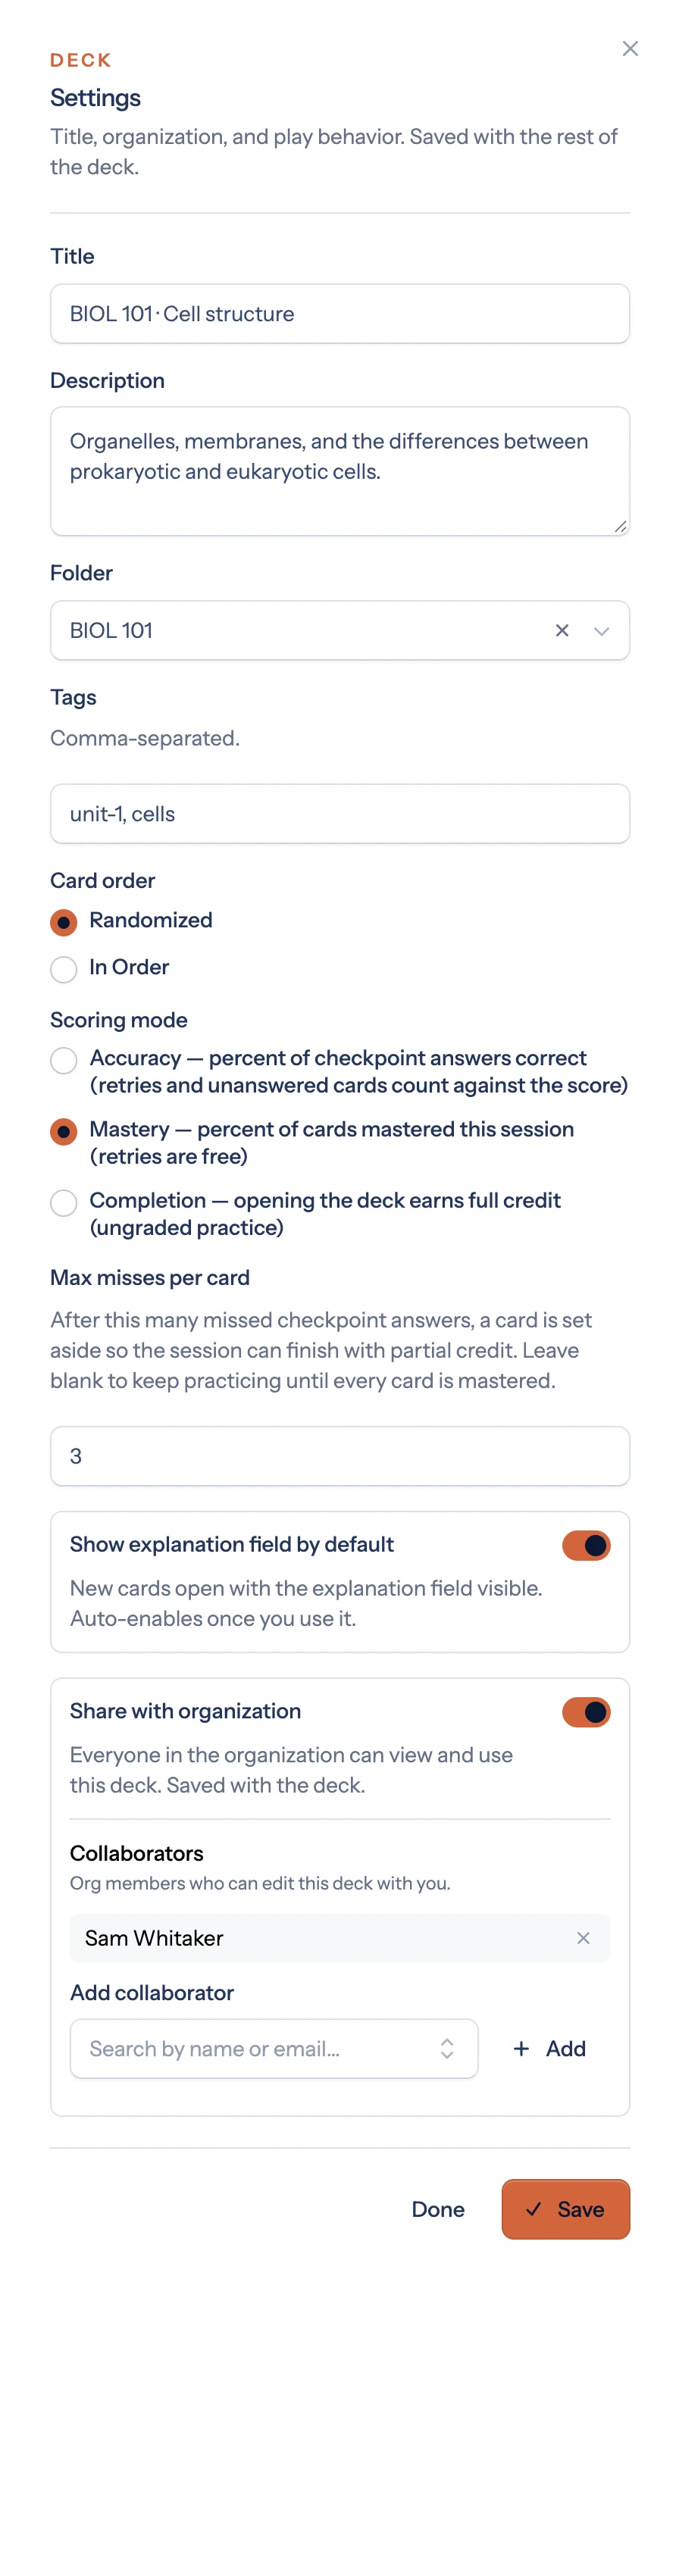
Click the Settings button in the header to open the settings flyout. You can:
- Change the title, description, folder, or tags
- Pick allowed activity types — which presentation styles the play engine may use (multiple choice, self-assess, matching)
- Pick card order — randomized (default) or sequential
- Pick a scoring mode — mastery, accuracy, or completion (see Grade passback)
- Toggle Show explanation field by default
- Share with organization and manage collaborators (see below)
Sharing and collaborators
New decks are private — they appear only in your deck list. Two ways to open one up, both in the Settings flyout:
- Share with organization puts the deck in your org's shared library. Colleagues find it under the Organization tab on the Decks page (and in the deck picker when linking an LMS assignment). They can view, play, and link it — but not edit it.
- Collaborators grants co-editing to specific org members you pick — perfect for a TA building cards for your course, or two instructors maintaining one deck. Collaborators can edit cards and settings; deleting the deck, sharing it, and managing the collaborator list stay with you (and org admins).
The two are independent: you can have collaborators on a private deck, or share a deck with no collaborators.
4. Preview before sharing
Click the Preview play button in the header. It opens the play view in a new tab so your edit context stays put. If anything reads wrong from the student's perspective, fix it and reload.
Tip: Preview shows what's saved, not what's currently in the editor. Hit Save first, then Preview.
5. Share it with students
For self-paced study: send students the deck URL.
For LMS-graded use: tell your org admin to connect the LMS (see the LMS Integration docs), then deep-link the deck into an LMS assignment. Grades come back to the gradebook automatically.